

Unfortunately, accidents happen. It’s a fact of life for all of us, and cyclists using a bike on the road, track or cycle path might know this better than most. Sometimes you get a puncture or flat tyre on the road, or find a nut or bolt that’s come loose. You can prepare all you want - and we do recommend you take a look at our bike maintenance guide to keep up to date on your routine tasks - but sometimes you might run into a snag out on your rides. So, can you repair punctured tyres on the go? What about crank bolts or fixing a loose pedal? Here's our guide to repairing your bike on the move so you can get back out there quickly.
Bike Repair Tools
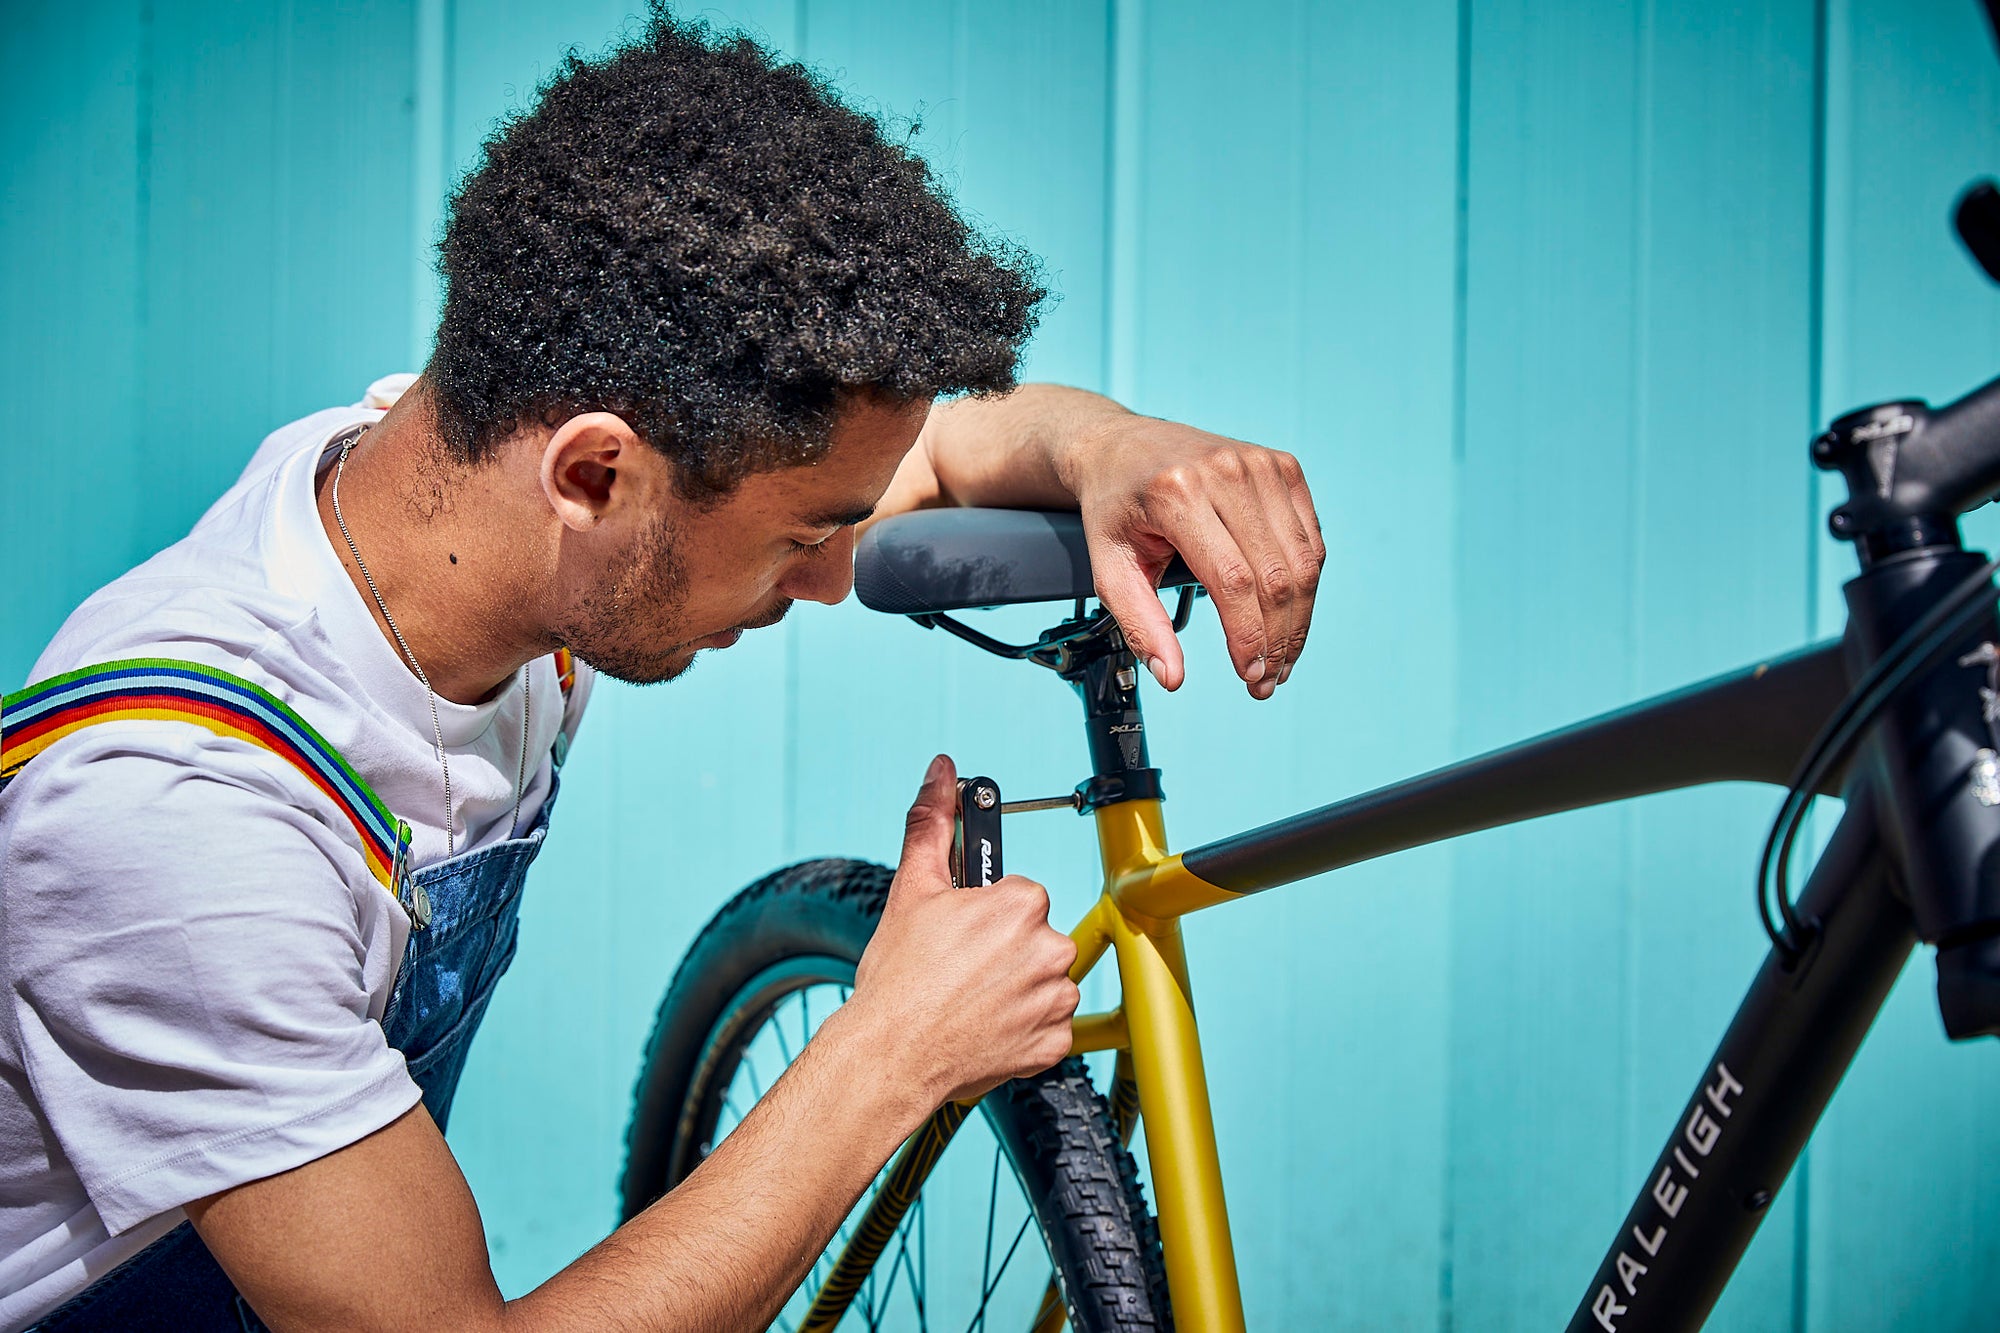
If you're going to be repairing on the road, you're obviously going to need the best bike tools for the job. Of course, perhaps in an ideal world you'd want to always have access to a full bike tool kit wherever you are to solve any problem on your cycle - whether it's a mountain bike, road bike or electric bike. However, strapping a toolbox full of spanners, wrenches and other tools on your back might not make for the easiest ride experience,
So, it's a good idea to create a portable kit of essentials to pack into your bike bag or your pocket. For example, having a multitool on hand can be useful in a variety of common situations - get one with tyre levers, allen keys and a variety of spanners and you'll be set for most common bike repairs.
To be really prepared while you're cycling, there are a few other bike tools you might want to consider packing in your kit. Some useful tools for bike and puncture repairs on the road include:
- Patches
- Tubes
- Tyre levers
- Bike pump
- General bike repair kit
)
Most common bike repairs needed on the road
Whether it's a punctured tube or tyre, a slipped bike chain or pesky foreign objects like a stick or sharp stone stuck in your spokes, there is a range of common bike issues and repairs you may want to take care of while you're riding on the road.
How to fix punctured tyres
Riding over uneven terrain or sharp objects like shards of glass, spiky thorns or bits of metal can cause holes or tears in the tyre or inner tube. If you get a puncture while you're out on a ride and need to get it fixed quickly, it's a good idea to make sure you've got a handy puncture repair kit on hand to get back up and running as soon as you can. If you can, pull off the main track or roadway to get a bit of safe space away from other cyclists or vehicles. You'll need enough space to take the wheel off if you need to replace the inner tube.
It's also worth noting that tyres don't last forever, and it’s best to replace them before they develop punctures. So, if you start to notice small tears or cracks in the surface of your tyre, it's best to get a replacement fitted before you head out and about, if possible. Once you've taken the wheel off, you need to make sure to get all the air out of the tyre, which will help quick release it from the rim more easily. Even though you've got a puncture and some air will have escaped, you need to get any excess out to make this process as smooth as possible.
Next, remove the dust cap and any valves. Grab your tyre lever and carefully apply some pressure to lift the bead of the tyre off the wheel rim. Tuck it under a wheel spoke to hold it in place after the tyre starts to lift - don't worry about damaging the spoke, it should be just fine. Then, take a second lever and use this to edge around the wheel - if you can, go around the whole wheel. Some tyre models may need a third lever to get the tyre off the wheel.
Once you've got the inner tube off, check for the cause of the initial puncture. To do this, you might need to reinsert or pump some air into the tube to see where the rip or split is. One of the best ways to check this while out cycling is - stay with us - to use your mouth! Press your lips to the tube to find the spot where the air is coming out. Because you're doing this repair on the road, you'll most likely be patching up the tube and fixing the puncture to get back on the road. Use the sandpaper from your puncture kit to roughen up the area around the puncture. Apply the tyre patch glue, stick the patch over the puncture, and give it a moment to dry. If your bike patch kit has self-adhesive patches, you can just use it like a sticker.
Check it's all airtight, and then reattach the tyre back to the rim. Make sure the inner tube isn't stuck between the tyre and the rim, and work your way all around the wheel carefully pushing it onto the rim. Make sure it's all installed correctly to avoid another puncture! Reinflate the tyre with your portable bike pump (make sure to check the correct pressure for your tyre). Then, carry on cycling!
How to fix a loose crankarm
Bike crankarms are often one of the worst culprits when it comes to needing on-th-go repairs. They can come loose over time, so it's wise to keep a hex wrench in your pocket to give it a tighten and you'll be up and running.
How to fix loose or wobbly bike wheels
Often, a wobbly bike wheel is caused by a loose hub that needs tightening. Particularly when they're new, bike wheels can pull and stretch to be a little loose. This can, of course, ruin the quality of your ride, and can make your road bike or electric bike feel much less smooth. Loose bike wheels can also be unsafe, so if you notice even the slightest sign of a wheel looking a little loose, it'll need tuning up. Make sure to check both the front wheel and rear wheel of your bike when you're getting ready to cycle.
If you do spot a loose bike wheel, it's best to head to a specialist bike shop to get it repaired by an expert. However, you can tighten a loose bike wheel on the road, but it can be quite tricky. If you do need to, you can tighten individual bike spokes. You'll need to carefully adjust until you find the right amount of tension between the wheel hub and rim. Lots of bike maintenance multitools have wheel spoke keys included for this job.
If you do need to tighten bike spokes on the road, after you've adjusted them uniformly you'll need to check the wheel with a frame or fork tube (if your bike has disc brakes) to find the part of the rim that's loosest.
Give the spoke opposite that spot another tighten to pull it all together, and repeat that process until your wheel's in good enough shape to carry on riding. Make sure to get your wheel checked at a local bike shop afterwards to make sure it's safe.
How to fix a bent or damaged derailleur
Sometimes, no matter how safe you ride or how smooth the terrain, accidents and crashes can happen.
Lots of bikes have derailleur hangers that are there to take the shock if you do crash or take a fall. This is so the frame takes less of the impact, but because it's designed to be removed if it needs to be, it can get knocked out of shape. If you're out on a ride and notice poor shifting, it might mean the derailleur hanger is damaged. This can mess with the alignment of the rear derailleur, which can eventually get shifted into the rear wheel.
If you're out and notice a bent hanger, you may be able to straighten it as a temporary measure until you can take it to be replaced or properly aligned at a specialist bike shop.
To straighten a bent bike hanger on the road, you'll need to shift it to the smallest cog. Use a hex wrench to hold the bolt that attaches the derailleur to the bike frame, and lightly bend the hanger to line up with the cog. Then slowly shift gears up to the second-largest cog, and adjust the lower limit screw so the derailleur won't pass the cog. Remember that this is simply a temporary fix until you can get your derailleur hanger properly mended at a bike shop.
)
How to fix loose bike pedals
While you're out on your journey, you might notice a loose or wobbly feeling as you pedal. This happens when the pedal isn't tight enough in the crankarm, and the spindle wobbles. The longer you ignore that feeling, the more damage a pedal can do - it can ruin the crank itself and destroy the threads in the pedal spindle.
If you do catch a loose pedal that's a bit unsteady, carefully rethread it and make sure it fits tightly into the crank arm - that should hold it. If the pedal does actually fall out, there still may be a simple way to fix it.
Thread the pedal through the hole on the other side of the crank arm - the back of where the pedal normally goes - and then carefully remove it. This should, hopefully, help redefine any damaged threads enough for you to reattach the pedal and get back home for a proper fix.
For more tips on everything from punctured tyres to managing your electric bike battery, head to our Guides.


